Our guide this month covers a useful feature that's hidden away in Windows. It's called the "Snipping Tool", and it allows you to take a screenshot of all or part of what's currently on your screen. You can then either save this screenshot to use elsewhere, or instantly email it on to someone.
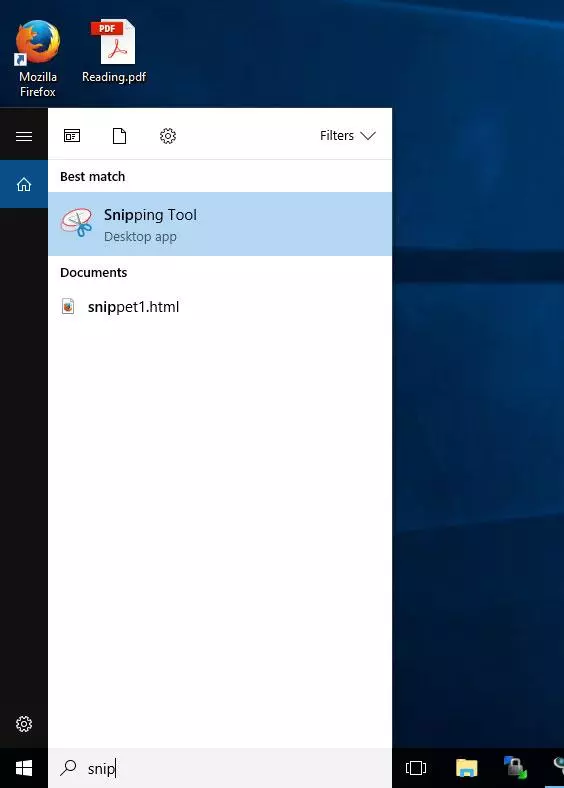
Step 1: You can use the Windows Search facility to locate the snipping tool. Just start typing "snip" into the box, and it should appear on the list. Note, you can also find it by clicking the Windows logo in the bottom left and navigating to the "Windows Accessories" set of apps. You should find "Snipping Tool" within this.

Step 2: Once the snipping tool is open, click the "New" button to start the screenshot process. Note, the tool defaults to taking a rectangular screenshot. If you need a more freeform shape, you can select this from the "Mode" dropdown.
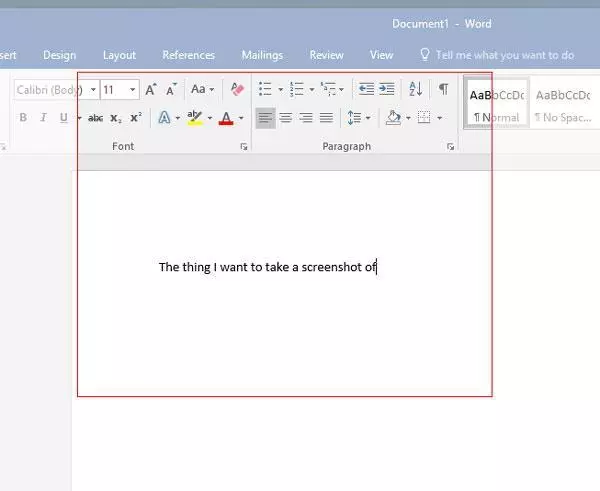
Step 3: The screen will go slightly opaque. You can then draw a rectangle round the area of the screen you want to take a screenshot of. The intended selection will become clear as it is highlighted to indicate exactly what is going to be copied.
Step 4: Once you let go, your screenshot will be created. (Note, if this is wrong, just click "New" and try again).
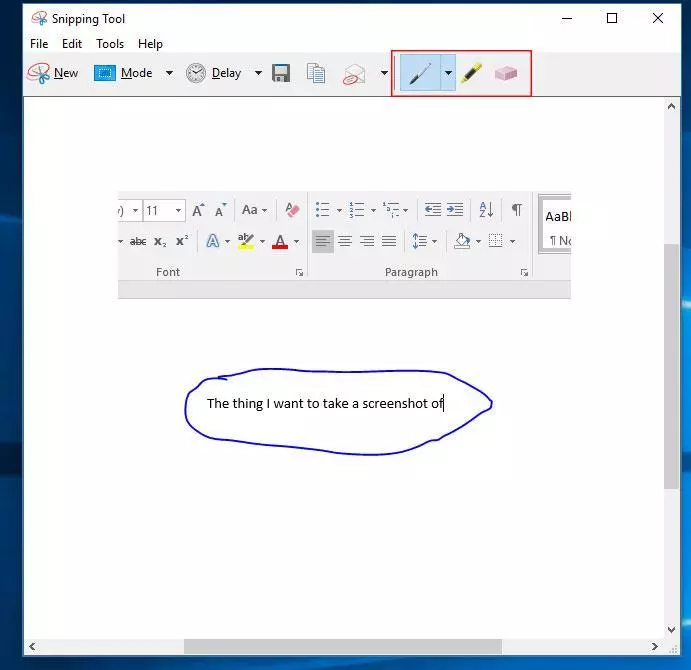
Step 5: If you need to highlight certain areas of your screenshot, there's a basic set of tools on the right hand side to do this.

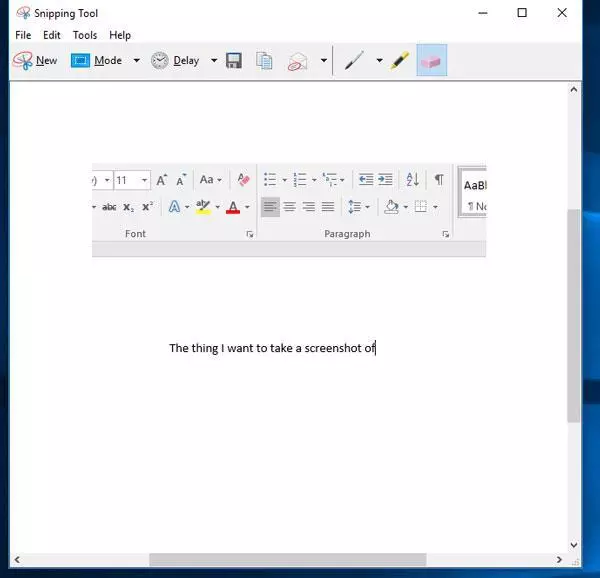
Step 6: Finally, you can decide what you want to do with your screenshot using the options highlighted in the middle. You can save it to a file or copy it to your clipboard to then use it elsewhere. Alternatively, you can click the "Send Snip" button which will open your default email application with the screenshot already attached so you can send it on to someone.