Microsoft is continuing its mission to bring new AI tools to its systems and apps over the coming months and years. After last month's introduction of its CoPilot tool into Windows 11, this month it's bringing text detection to the snipping tool, allowing you to copy text embedded in an image into your clipboard for use elsewhere.
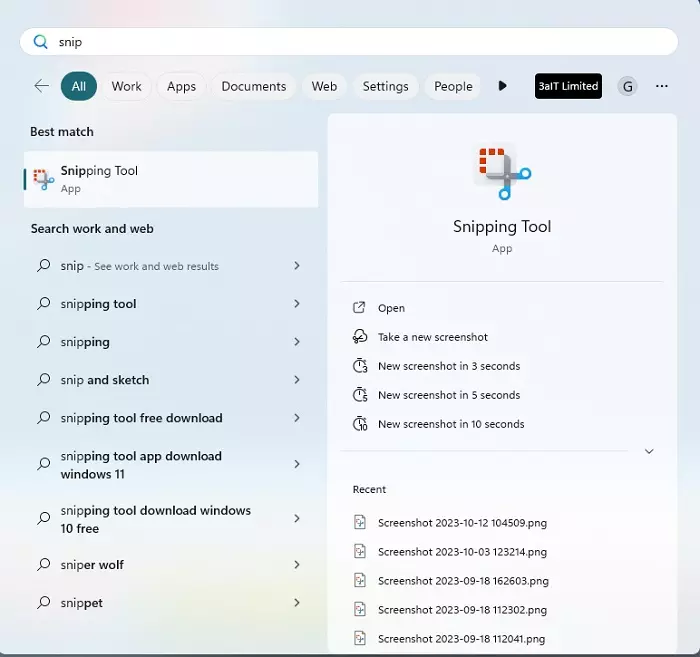 Step 1: Search for and open the snipping tool. Alternatively, you can use the Win Key + Shift + S shortcut or just hit Print Screen in the most recent versions of Windows. If you do either of the latter options, you'll skip straight to the point that "New" is hit in step 2.

Step 2: Hit the "New" button and use the tools at the top of the screen to decide what shape your want your snip to be. In our example above, we've taken a rectangle snip of a section of our website homepage.

Step 3: Hit the "Text Detect" button and after a short wait, all the text in the image should be highlighted. If you want all of the text in the image you've scanned, you can use the "Copy all Text" option. If it's more like the screenshot above, you can highlight just the text you want and use Ctrl - C or right click -> Copy to grab just that section into your clipboard to use elsewhere.
Note that you don't need to actually screenshot something in this way if you already have an image file with text you want to grab out of it. Instead, with the snipping tool open, open the menu on the right and choose "Open file". Find your image file and then run the text detection process on that.