Here is a step-by-step guide that explains how to create a signature to automatically append to the footer of your emails using Outlook 2016. The process is largely identical in the other recent versions.
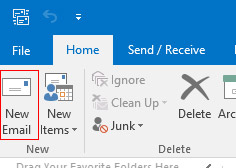
1. Open a new email
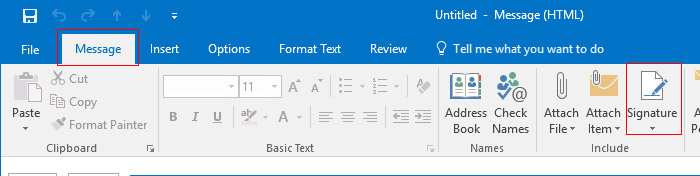
2. Ensure the "Message" tab is selected and click the "Signatures" button, then the "Signatures..." option that appears.
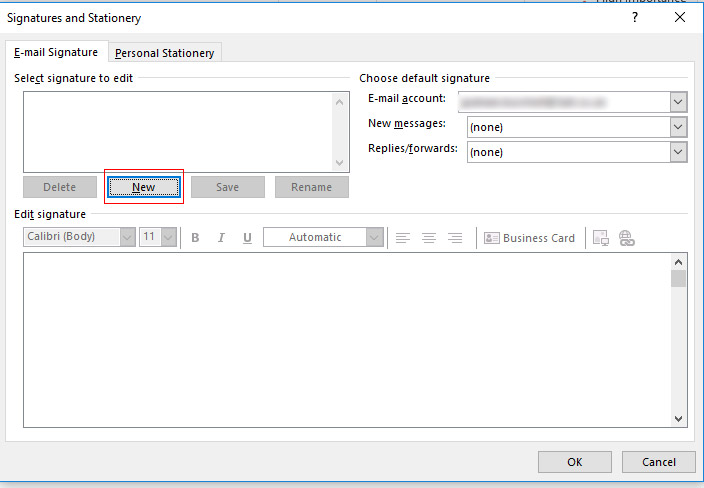
3. Click "New", give your signature a name, then press OK.
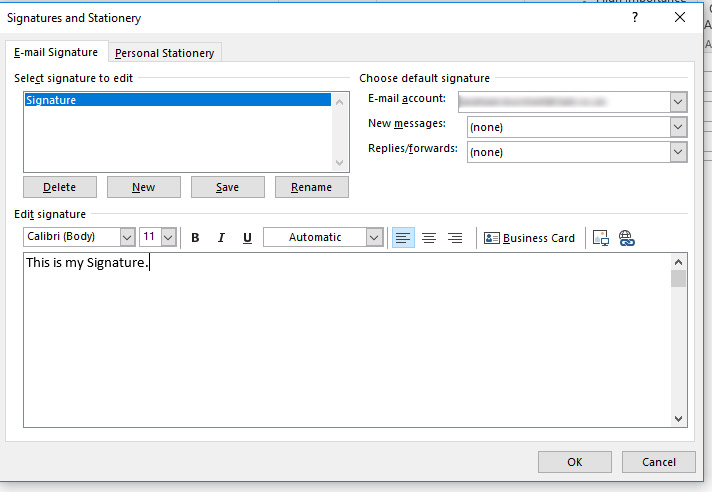
4. You can now add the content you wish to be included in your signature in the "Edit signature" box.
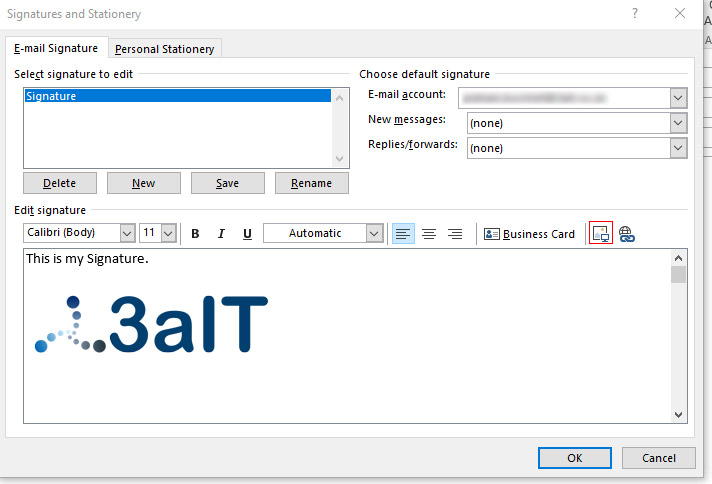
5. If you wish to add an image, use the icon highlighted here.
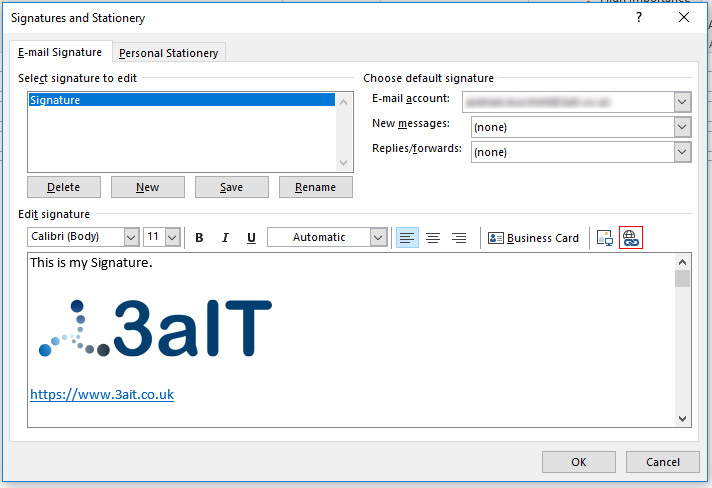
6. If you wish to add a link to a website, use the icon highlighed here.
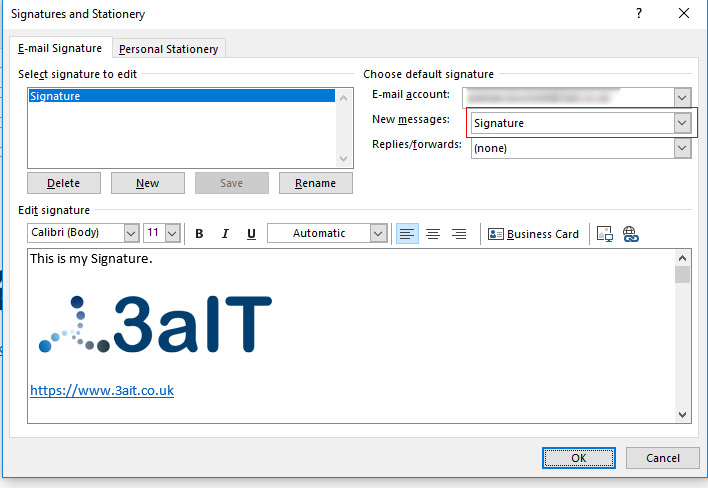
7. Finally, select which emails you'd like your signature to appear on by default. If you'd like it to appear only new messages, select it from the "New messages" dropdown. If you'd like it to appear on every message you send, including all replies to messages, select it from the "Replies / Forwards" dropdown too.
Once you have made your selections here, simply press "OK". You should now find that your signature appears when you open a new message.
If you'd like to make changes to your signature, just follow steps 1+2 here, ensure your signature is selected in the edit list, make your changes in the edit box, then click "Save".