If Word, Excel, Outlook or one of the other products in Microsoft's Office suite is giving you a terminal error or has gone a bit wonky, one easy thing you can do to try and fix this is attempt an Office repair. This article will explain how to do that in Windows 10 and 11.
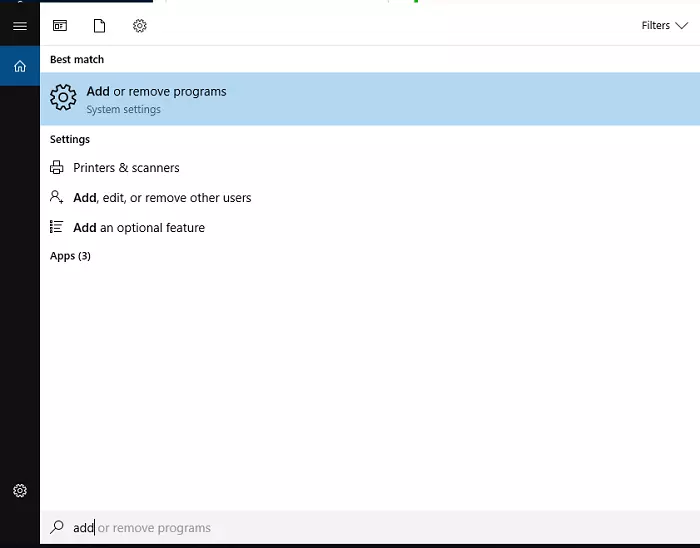
Step 1: Open the search bar and start typing "Add", then select "Add or Remove Programs"
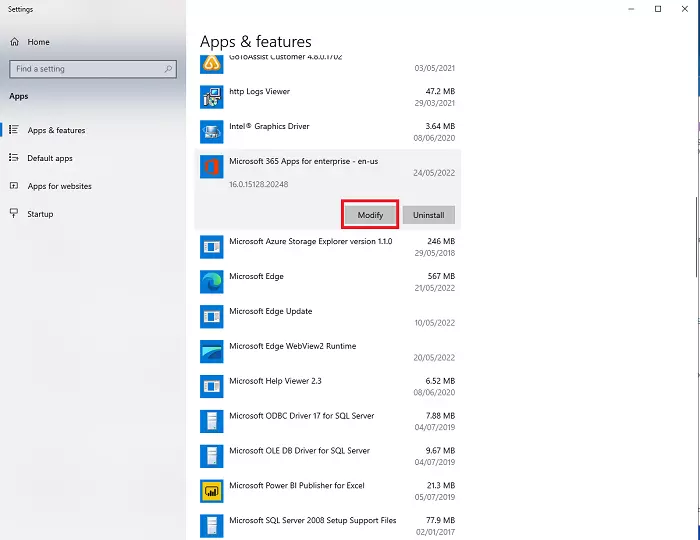
Step 2: Find Microsoft Office in the list of programs. This will vary slightly depending on the version of Office you use. If you use 365, it will look like the above. If you use a "numbered" version (2016, 2019 or 2021), it will be slightly different. Either way, hit the "Modify" button for the app.
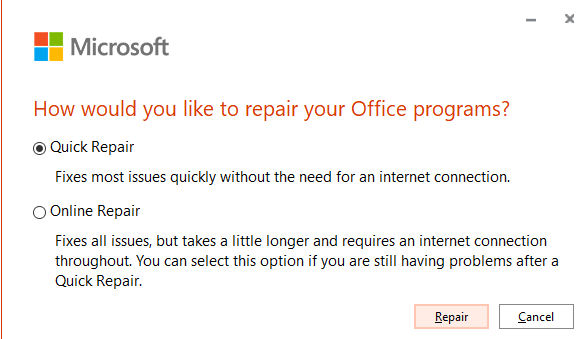
Step 3: If you're using 365, you'll see a panel like the one above. The numbered version may look a little different. Either way, you'll want to pick the "Quick Repair" or "Repair" option, then select "Repair".
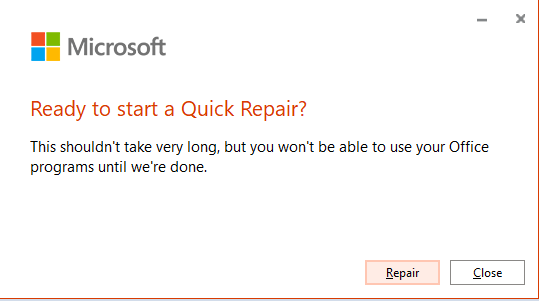
Step 4: You'll get a prompt just to confirm you want to do this. Keep clicking throught!
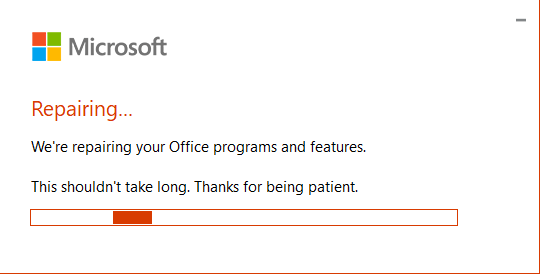
Step 5: It will now attempt to to repair Office for you. With any luck, once that process is complete, that will have done the job. The eagle-eyed among you may have spotted the "Online Repair" option earlier, which is worth a try if the Quick Repair doesn't work.